Abandoned calls summary report

Follow these steps to view a pre-configured report:

  1. On the Pre-configured reports screen, select Abandoned calls summary report.
    More reports will be added in future releases.
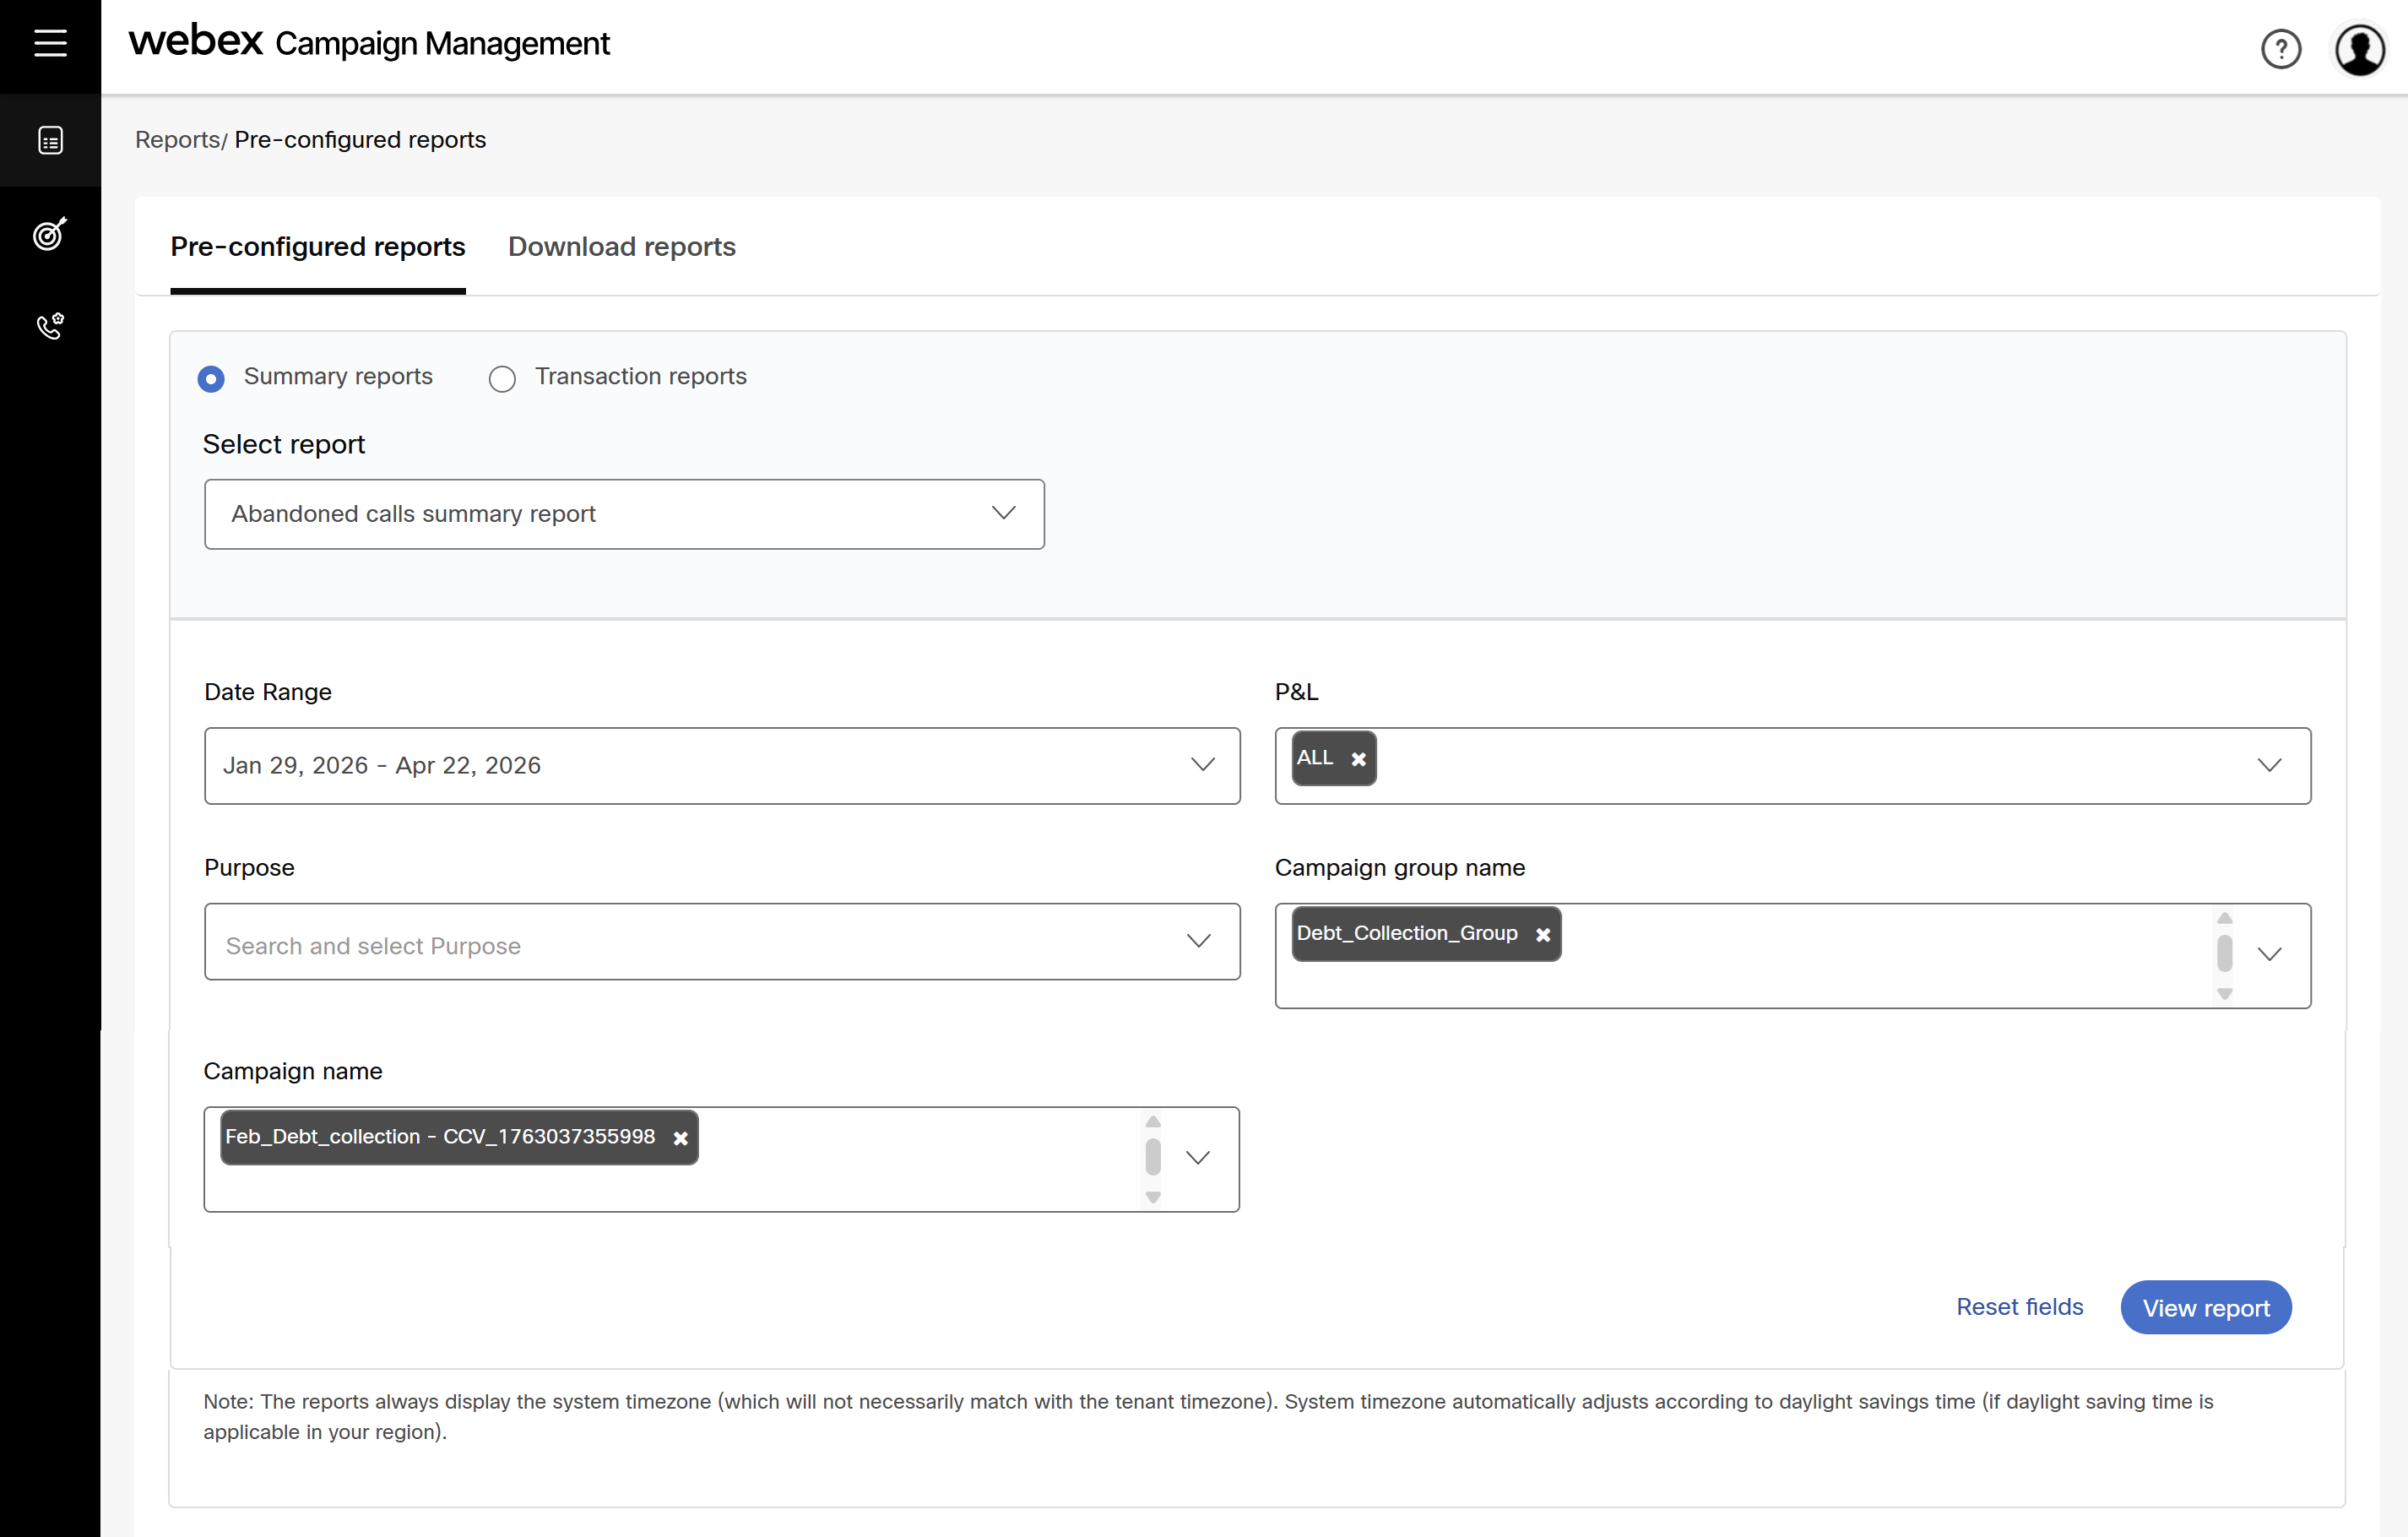
  2. Specify the required filtering criteria by entering or selecting the values in the filter options.
  3. Click View report. The resulting set that qualifies for the given criteria is displayed.
  4. To export the report, click Export report. The report will be downloaded in excel format.
  5. To schedule a report, click Schedule this report link.
  6. Enter the following details in the Schedule the Report screen:
  • Schedule name: Enter a name for the schedule.
  • Report output format: Select the report format (Excel) from the drop-down.
  • Schedule type: Select an appropriate option to receive the report such as One time or Recurring. If you select one time, then select the schedule.
  • Schedule for one time: Select the Immediate or Specific date and time.
    • Immediate: When this option is selected, the report will be scheduled immediately after you click on Save & schedule.
    • Specific date and time: When this option is selected, 2 additional options will be displayed to configure the Date and Time.


The below options appear if the Schedule type is Recurring.

  • Schedule pattern: Select the pattern such as Hourly, Daily, Monthly, Monthly - Specific Week Days, Monthly - Specific Month Days, and Quarterly.
  • Start date and End date: Set the Start date and End date for the duration in which the report will be scheduled.
  • Start time and End time: Set the Start time and End time for the duration in which the report will be scheduled.
  • Eligible week days: Configure the eligible week days. If you don't want the report to be generated on Friday, then unselect Friday.
  • Run Interval: To have the report generated every other day, set the schedule pattern to Daily and the Run interval to 2. The report will be generated every other day at the specified time.
  • Monthly - Specific Week Days: Select this option to have the report generated on a specific week days of the month., for example, if you want the report to be generated on the First 7 days, then select this option and select First week from the drop-down.
  • Monthly - Specific Month Days: To have the report generated on specific days of the month. For example, if you enter 1,15 then the report will be generated 1st and 15th of every month.
  • Quarterly: Select this option to have the report generated quarterly at the specified time.

  • Output channel type: Select if the report has to be sent through SFTP or Email. If you select SFTP upload, select SFTP server and enter the Path. If you select Through email, then enter the email address in To, Cc, Bcc, Subject, and Mail body.
  1. Click Save & schedule.

The scheduled reports will be displayed under the Scheduled reports tab. The generated reports will be available here for 90 days.